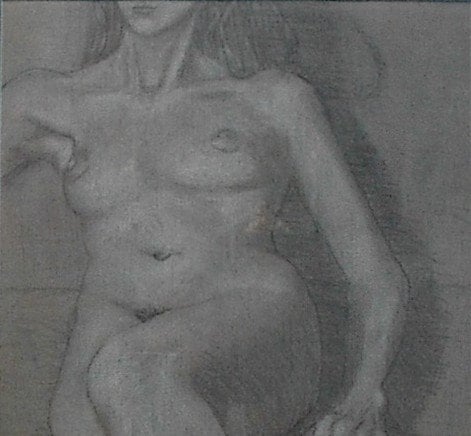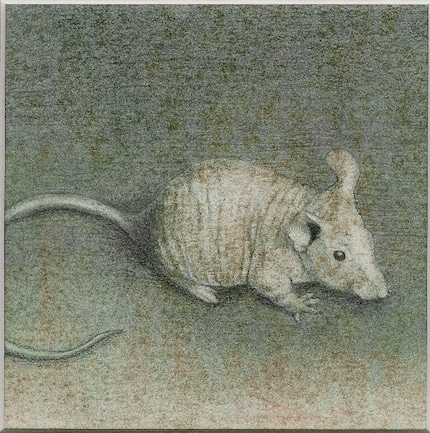
Today's medium you never heard of is more of a technique made up of several media that you have heard of, combined in a different way. The drawing at the right shows the broad range of light to dark that can be acheived with this technique, and the subtle and smooth transitions make it an ideal method for rendering the human figure.
While it appears that this drawing was made on a piece of tan paper, the paper was actually white to start with. The first step for this technique is to prepare your surface by rubbing the entire page with a thick piece of vine charcoal. It has to be vine charcoal, not compressed charcoal, as you just want enough coverage to protect the tooth of the paper (the rough surface of the paper that absorbs the pigment or pencil). This step will leave the paper a sort of uneven light gray. Next, get out your soft pastels and pick out two or three (or more) colors that range all over the color wheel. This particular drawing used a teal green, sienna, sky blue and yellow ocre. One color at a time, rub the side of the pastel across the whole sheet, not worrying too much about evenness--that'll come later. As you mix, you should be able to see your neutral background forming, and you can adjust it by adding more of one color than another to get it the way you want. Once you are satisfied with the tone, overlay with another layer of vine charcoal. This second layer of charcoal should even out the tone of the page somewhat, but if you would still like it smoother, take a wad of soft tissue (like Kleenex) and gently rub the surface in a circular pattern until the tones are even and smooth.
 From this prepared surface, you will create all of the lights, darks and midtones using three tools: graphite pencil (6B to 9B, very soft), a kneaded rubber eraser, and a wad of tissue. The pencil is used to create any tones darker than the paper tone, using crosshatching or other techniques to achieve the darkness you desire. The kneaded rubber eraser is used to gently lift out the pastel colors to create the highlight areas, and you are able to lift out as much as you please, from a little lighter to all the way back to white. The wad of tissue acts as sort of another type of eraser, but this one helps blend unwanted lights or darks back to the background midtone.
 Overall, the technique is very versatile, fairly forgiving, and gives extremely satisfying results. Try it for yourself sometime!
The above images were created by me, Julie D'Arcy, and are for sale in my Etsy shop!
5 comments:
Thanks for the nice comments about my necklace. I actually did have that picture as the feature but just recently switched it because it was getting cut off...maybe I should go back to it. Thanks.
Nancy.
I've done drawings like this but with graphite powder. Neat post!
Thanks for the comment. Yeah, I love color but my drawing teacher was sooo traditional and strict. Pastel is also one of my favorite mediums I have one I did in my ety shop.
Hi Julie! I',m so happy that you visited my blog and checked out my cartoon.....
I must tell you that I am simply blown away by this nude! It is so beautiful I don't know how you could part with it! :c )
Sigh.... I miss those life drawing classes like i had back in college! I suppose now I could just draw what's around me.... my husband, my baby etc... I think drawing "what you see " , especially drawing people, helps an artist improve no matter what style they typically paint or draw in.
Thanks again for stopping by!
HI Julie, I hope you stayed at it and continue at your art to many give up when they can make it. The trick is to stay at it and eventually you shall be acknowledged. check out some of my old work. The new intellectual property laws will protect artist thank God! http://mysite.verizon.net/vzeuzc7w/intaglio_copper_plate_handengraving/
Post a Comment